
In the world of precision shooting, the art of zeroing your scope is paramount. Whether you’re an experienced marksman or a novice just embarking on the journey of long-range shooting, the ability to reset a scope to factory zero is a fundamental skill that can make or break your accuracy. In this extensive guide, we’ll take you on a comprehensive journey through the intricate process of resetting your scope to factory zero, ensuring that your shots consistently find their mark.
The Significance of Scope Zeroing
Before delving into the intricacies of resetting your scope to factory zero, let’s first comprehend why it’s a non-negotiable aspect of precision shooting.
- Precision and Accuracy: A correctly zeroed scope ensures that your shots hit precisely where you aim, eliminating the chances of errors due to scope misalignment;
- Consistency: Consistency is the linchpin of excellence in shooting sports. Maintaining a consistent zero point allows you to predict the trajectory of your shots accurately under varying conditions;
- Confidence: Knowing that your scope is precisely zeroed instills confidence in your equipment, enabling you to concentrate solely on refining your shooting technique;
- Versatility: Zeroing your scope grants you the adaptability to make precise adjustments for different distances and environmental factors, rendering your shooting setup versatile for a myriad of scenarios.
Having established the critical role that a correctly zeroed scope plays in precision shooting, let’s proceed to the meticulous process of resetting it to factory zero.
Step 1: Gathering the Necessary Equipment
Before embarking on the zeroing journey, ensure you have all the requisite tools and equipment at your disposal:
- Your firearm equipped with the scope to be zeroed;
- A sturdy and stable shooting platform or rest;
- Ammunition of the same type and grain that you intend to use regularly;
- A target positioned at a known distance (typically 100 yards for rifles).
Step 2: Prioritize Safety
Above all else, maintaining a safe shooting environment is the paramount consideration when dealing with firearms. It is absolutely imperative that you take every necessary precaution to minimize risks. Begin by confirming that your firearm is unloaded, with the chamber and magazine both cleared of any ammunition. This fundamental step cannot be stressed enough; it forms the foundation of a secure shooting experience.
Furthermore, unwavering adherence to all firearm safety protocols is non-negotiable. These protocols include but are not limited to the four primary rules of firearm safety: treat every firearm as if it is loaded, keep the firearm pointed in a safe direction, keep your finger off the trigger until you’re ready to shoot, and be sure of your target and what is beyond it.
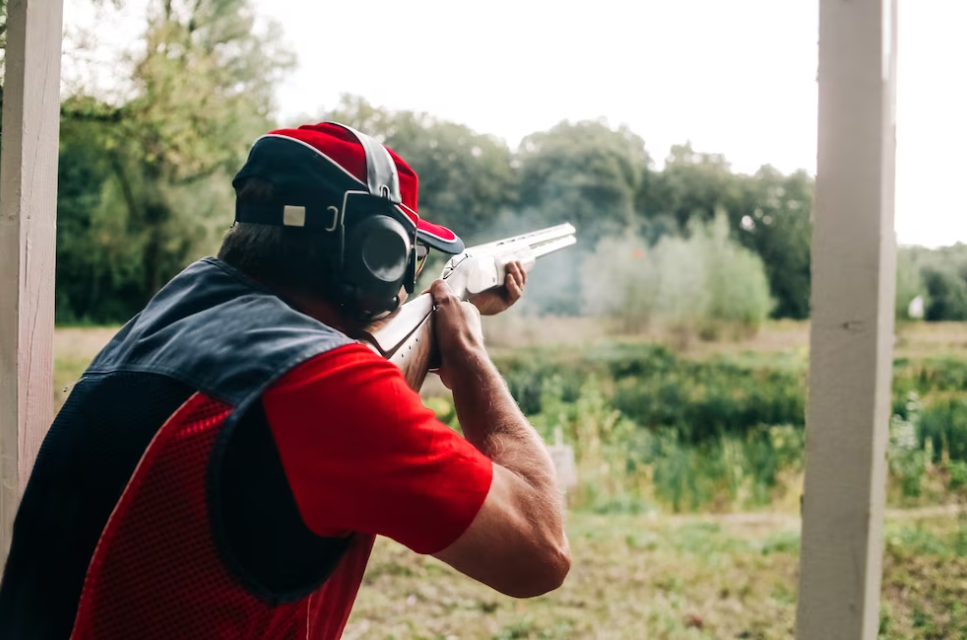
In addition to these basic safety measures, it’s essential to outfit yourself with proper protective gear. This includes wearing appropriate eye and ear protection throughout the entire process. These safety precautions are your shield against potential accidents and are absolutely essential when working with firearms.
Step 3: Establish the Ideal Shooting Environment
To achieve pinpoint accuracy, meticulous selection of the shooting environment is crucial. Opt for a day marked by minimal wind and stable lighting conditions. Even the gentlest breeze or shifting sunlight can significantly impact your shots and hinder the zeroing process. By carefully choosing the right conditions, you set the stage for a more successful and gratifying zeroing experience, where variables that can compromise accuracy are kept to a minimum.
Step 4: Securely Mount Your Rifle
In this crucial step, the focus shifts to ensuring the utmost stability and precision as you prepare to zero your rifle. To achieve this, carefully position your rifle on a robust shooting platform or rest that guarantees an unyielding foundation. The significance of this meticulous placement cannot be overstated, as any potential movement during the zeroing process can compromise the accuracy of your shots. By securely mounting your rifle, you lay the foundation for a successful zeroing procedure, minimizing variables and allowing for precise adjustments that will ultimately lead to optimal shooting performance. So, take your time to ensure that your rifle is firmly and securely positioned before proceeding further.
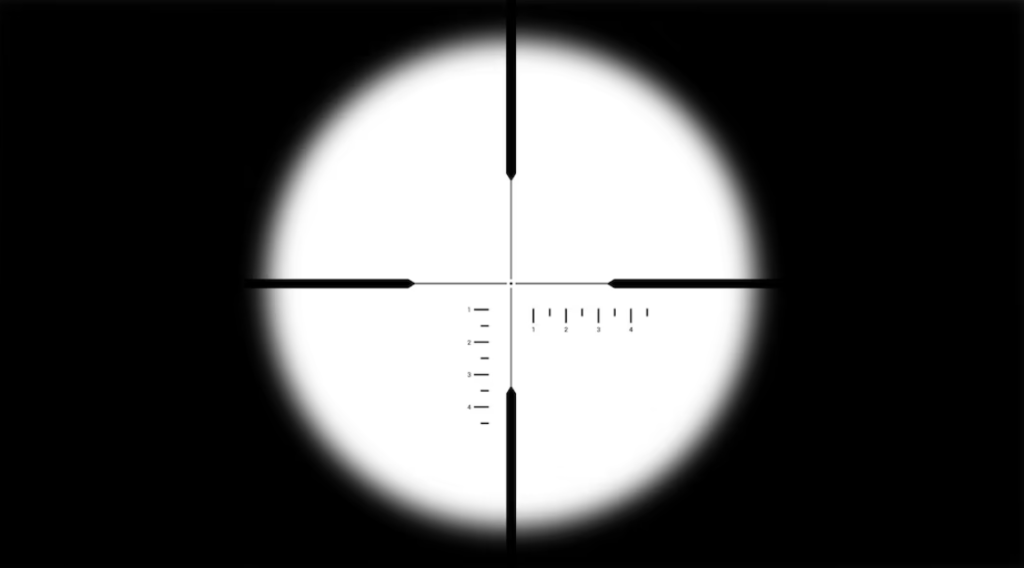
Step 5: Precisely Boresight Your Scope
Boresighting is the initial step, aligning your scope’s reticle with the bore of the barrel. Various methods can be employed for boresighting, including laser boresighters and the traditional “sight-through” approach. Always follow the manufacturer’s instructions for your specific boresighting tool to ensure accuracy.
Step 6: Fire Initial Shots
In this phase, you’ll want to fire a series of three to five shots at your designated target while maintaining a steadfast and controlled shooting position. These initial rounds are not just a routine exercise but rather a pivotal reference point that plays a pivotal role in assessing your scope’s present point of impact. These shots lay the foundation for the zeroing process, allowing you to gauge how far off your rifle’s aim is from the desired point. They provide essential data that will guide subsequent adjustments, ensuring that your rifle is finely tuned to deliver precise and accurate shots. So, with unwavering focus, fire those initial rounds and set the stage for a successful zeroing endeavor.
Step 7: Meticulously Adjust Your Scope
Now that you have the data from your initial shots, it’s time to make meticulous adjustments to your scope. Most scopes are equipped with turrets for elevation (up and down) and windage (left and right). Adhere to the following guidelines:
| Adjustment | Direction |
|---|---|
| Elevation | If your shots are consistently hitting low, adjust the elevation turret in the “up” direction. Conversely, if they consistently hit high, make adjustments in the “down” direction. It’s imperative to make incremental adjustments and repeatedly fire until your shots consistently land at the desired point of impact. |
| Windage | In the case of shots deviating to the right, adjust the windage turret in the “left” direction. If shots are straying to the left, make adjustments in the “right” direction. As with elevation, make incremental changes and repeatedly fire to achieve the desired point of impact consistency. |
Step 8: Refine Your Zero
- After your shots are consistently hitting the target at your desired point of impact, take additional shots to confirm the accuracy of your adjustments;
- Be prepared to make any necessary minor corrections to attain the utmost precision in your zero.
Step 9: Document Your Zero Data
In the journey of resetting your scope back to zero, one often overlooked but crucial aspect is meticulous record-keeping. While it might seem mundane, documenting your zero data can be the difference between consistent, accurate shots and a frustrating guessing game. Here’s why it’s so vital:
- Zeroing Distance: Your scope’s zero point, the distance at which your shots align with your crosshairs, is like the North Star for accurate shooting. Whether you’re engaging targets at long-range or in close-quarters, knowing this distance is paramount. Keeping a detailed record of it ensures that you can swiftly return to a reliable starting point;
- Ammunition Specifics: Ammunition isn’t just about caliber; it’s about type and grain as well. The ballistics of different ammunition can vary significantly. Documenting the specific type and grain of ammo used during your zeroing process allows you to factor in these ballistic differences for consistent shot placement;
- Scope Adjustments: Record not only the adjustments but also the direction (elevation or windage) and the number of clicks or MOA adjustments made. This information forms a blueprint for your scope’s settings and helps you quickly return to a known point of accuracy.
But Why is All This Record-keeping Necessary?
- It simplifies troubleshooting. If your shots start veering off target in the future, your records serve as a diagnostic tool. You can check if changes in ammunition or adjustments may be the culprits;
- It saves you time. Imagine having to start from scratch every time you want to zero your scope. Your records provide a shortcut to the desired accuracy, especially if you’ve moved or transported your firearm;
- It enhances your precision. Consistency is key in marksmanship. Keeping records ensures that you can recreate your zeroing process with precision, helping you maintain peak performance.
Step 10: Verify Zero at Various Distances
To truly master the art of resetting your scope back to zero, consider taking it a step further by verifying your zero at various distances. This extra effort can take your shooting game to new heights by offering a deeper understanding of your scope’s behavior under different circumstances. Here’s why this step is essential for elevating your accuracy and versatility:
- Real-world Adaptability: Shooting situations in the field are rarely one-size-fits-all. By testing your zero at multiple distances, you prepare yourself for the unpredictability of the real world. It’s not just about hitting a bullseye at a fixed range; it’s about being ready for any scenario that might come your way;
- Environmental Factors: Different distances often mean different environmental conditions. Wind, humidity, temperature, and even altitude can affect bullet trajectory. Verifying your zero across distances allows you to fine-tune your scope settings for these variables, making you a more adaptable shooter;
- Confidence Boost: Knowing that your rifle is zeroed in at various distances instills confidence. Whether you’re hunting game in varying terrains or participating in competitive shooting matches, this confidence is a game-changer. You can trust your gear to perform consistently no matter where you are;
- Data Collection: Each verification shot at a different distance is an opportunity to collect valuable data. You can refine your knowledge of how your rifle and scope combination behaves. This data can be added to your records, further enhancing your understanding of your firearm;
- Versatile Skill Set: Mastering different distances is a hallmark of a skilled marksman. It broadens your skill set and opens doors to various shooting disciplines. Whether you’re a long-range enthusiast or a close-quarters specialist, the ability to verify your zero across distances makes you a more versatile shooter.
Step 11: Consistent Zero Maintenance
It’s essential to bear in mind that your scope’s zero can fluctuate over time due to factors such as temperature, humidity, and usage. Regularly inspect and recalibrate your scope to ensure it retains its zero, maintaining the highest level of precision.
Conclusion
Mastering the art of resetting a scope to factory zero is a quintessential skill for any shooter dedicated to achieving precision and accuracy in their shots. By meticulously following the comprehensive steps outlined in this guide and dedicating time to practice and refinement, you will become proficient in the art of maintaining your scope’s zero and consistently hitting your targets with unwavering accuracy. Always uphold safety as the paramount concern when dealing with firearms, and abide by all safety protocols to ensure a secure and rewarding shooting experience. Best of luck on your precision shooting journey!